Art Studio Hacks
I’ve had several killer art studios in my art career, including my very first studio space, in the StoveFactory Studios in Charlestown, MA, that had a row of enormous North-facing windows. After moving to Maine full-time in 2019, I found it challenging to find a good working studio. I looked at several sub-par spaces (including one advertised as an artist studio that more closely resembled a tool shed, with no windows or natural light at all.) Discouraged by what I found, I then tried to add a second floor for a studio above our small garage, but the post-pandemic building boom in Maine led to contractor quotes for that tiny addition that were nearly half of what we paid for our entire home.
So one of my primary painting spaces is now our guest bedroom which, unsurprisingly, is not exactly in high demand during the cold winter months. The room gets pretty good natural light, but it needed an additional light source for the short winter days. I didn’t want to spend a lot of money on lighting solutions, or install anything permanent that would take away from the welcoming guest room vibe during the summer, so I devised my first studio hack – a super inexpensive, portable studio lighting solution.
Inexpensive, portable art studio lighting solution

A metal, collapsible tripod holding a shop light with twin 5000K daylight bulbs.
The basic setup cost just $60 and provides plentiful crisp 5000K natural light. A $25 metal tripod light stand serves as the foundation. It’s designed to hold some ghastly, blinding contractor work lights, but the stand can hold any lights you choose. I bought a $35, two-foot-long shop light with twin daylight bulbs. The shop light is designed to be either ceiling mounted or hung from a chain, so I simply hang it by the chain from the top of the stand. Since my cats are always running around causing trouble in the studio and I didn’t want to deal with the possibility of the light getting knocked off the stand and broken, I use a velco strap to secure the chain to the top handle. I’ve been using this the same light on a very frequent basis since mid-2022 without needing to replace the bulbs, so it’s a very cost-effective solution. And when guests come, I simply pick up the entire setup and move it to the basement.
Here are the product listings:
https://www.lowes.com/pd/CRAFTSMAN-Red-Stand-Work-Light/1000655903
(Note: As with all products mentioned in this blog post, I am receiving no compensation at all from Lowe’s or Dick Blick or the manufacturer.)
Rolling metal cart for expanding encaustic painting space
Encaustic painting is far messier than acrylic painting, so that work gets done in the basement, where I had a professional ventilation system and workbench installed. While the bench works well, it can be a challenge painting on larger panels, including the 30” x 40” that I’m currently working on. I recently bought a Kobalt rolling tool cart that I can move into place to easily expand my primary work area. The rolling cart is made of steel, which is an added safety bonus when working with a propane torch. There’s a slight height difference between the cart top and my work bench, but that problem is easily solved by placing wooden blocks under the end of the panel to maintain a perfectly level surface.

A rolling metal tool cart with extensive storage adds work space when needed.
The tool cart has fantastic storage to boot – four pull-out drawers that accommodate lots of my encaustic paint and tools, as well as an open shelf at the bottom that holds spare panels and other stuff. One drawer holds all of my oil sticks in an easy-to-access spot. (Note: I have a much smaller and lighter cart on wheels that I use for my acrylic paint supplies; this car also gets wheeled out of the guest bedroom when it’s time for company. But I’ve had that one for so many decades I no longer remember where I purchased it.)

One of multiple storage drawers that I use to organize and easily access my oil sticks.
Here’s a link to the rolling steel cabinet:
As an additional recommendation, if you live near a Lowe’s, choose the local pickup option. The steel cabinet is quite heavy, and shipping is expensive. But if you opt for store pickup, they will bring the cart out to your car and load it for you. Assembly is required, and that part was a little tricky and definitely needs a second pair of hands, but I was so happy with the end product that I quickly forgot the frustrations caused by the rather poorly-written assembly instructions.
So those are some tips for any artist working in a home space or in less-than-ideal studio space. Always remember: You don’t need to wait for the perfect space to create, so don’t use that as an excuse to avoid picking up a brush and getting to work. You can always find a way to get the work done, if you’re determined to create.
Cleaning hardened paint from brushes
The final studio hack I have works in any studio space: it’s about cleaning encaustic brushes (or, really, for cleaning brushes with any kind of caked paint on them). This product also works for getting dried paint out of clothing. It’s truly a miraculous product, despite its really goofy, hucksterish-sounding name: Marvelous Marianne’s SavvySoap Hand & Brush Cleaner. It’s a pleasant-smelling blend of cottonseed oil, aloe, glycerin and lanolin, which also claims to be fully biodegradable and non-toxic.
I first started using the Savvy brush cleaner with acrylic paints, after I was interrupted mid-painting by an emergency phone call, then returned to my studio hours later to find my favorite brush a hardened mess. I tried the Masters brush cleaner that I had on hand to no avail, and then did a little online research, unwilling to part with my brush. When the Savvy cleaner arrived a week later, I was amazed to see how quickly it removed the dried-up paint and restored the brush to pristine condition.
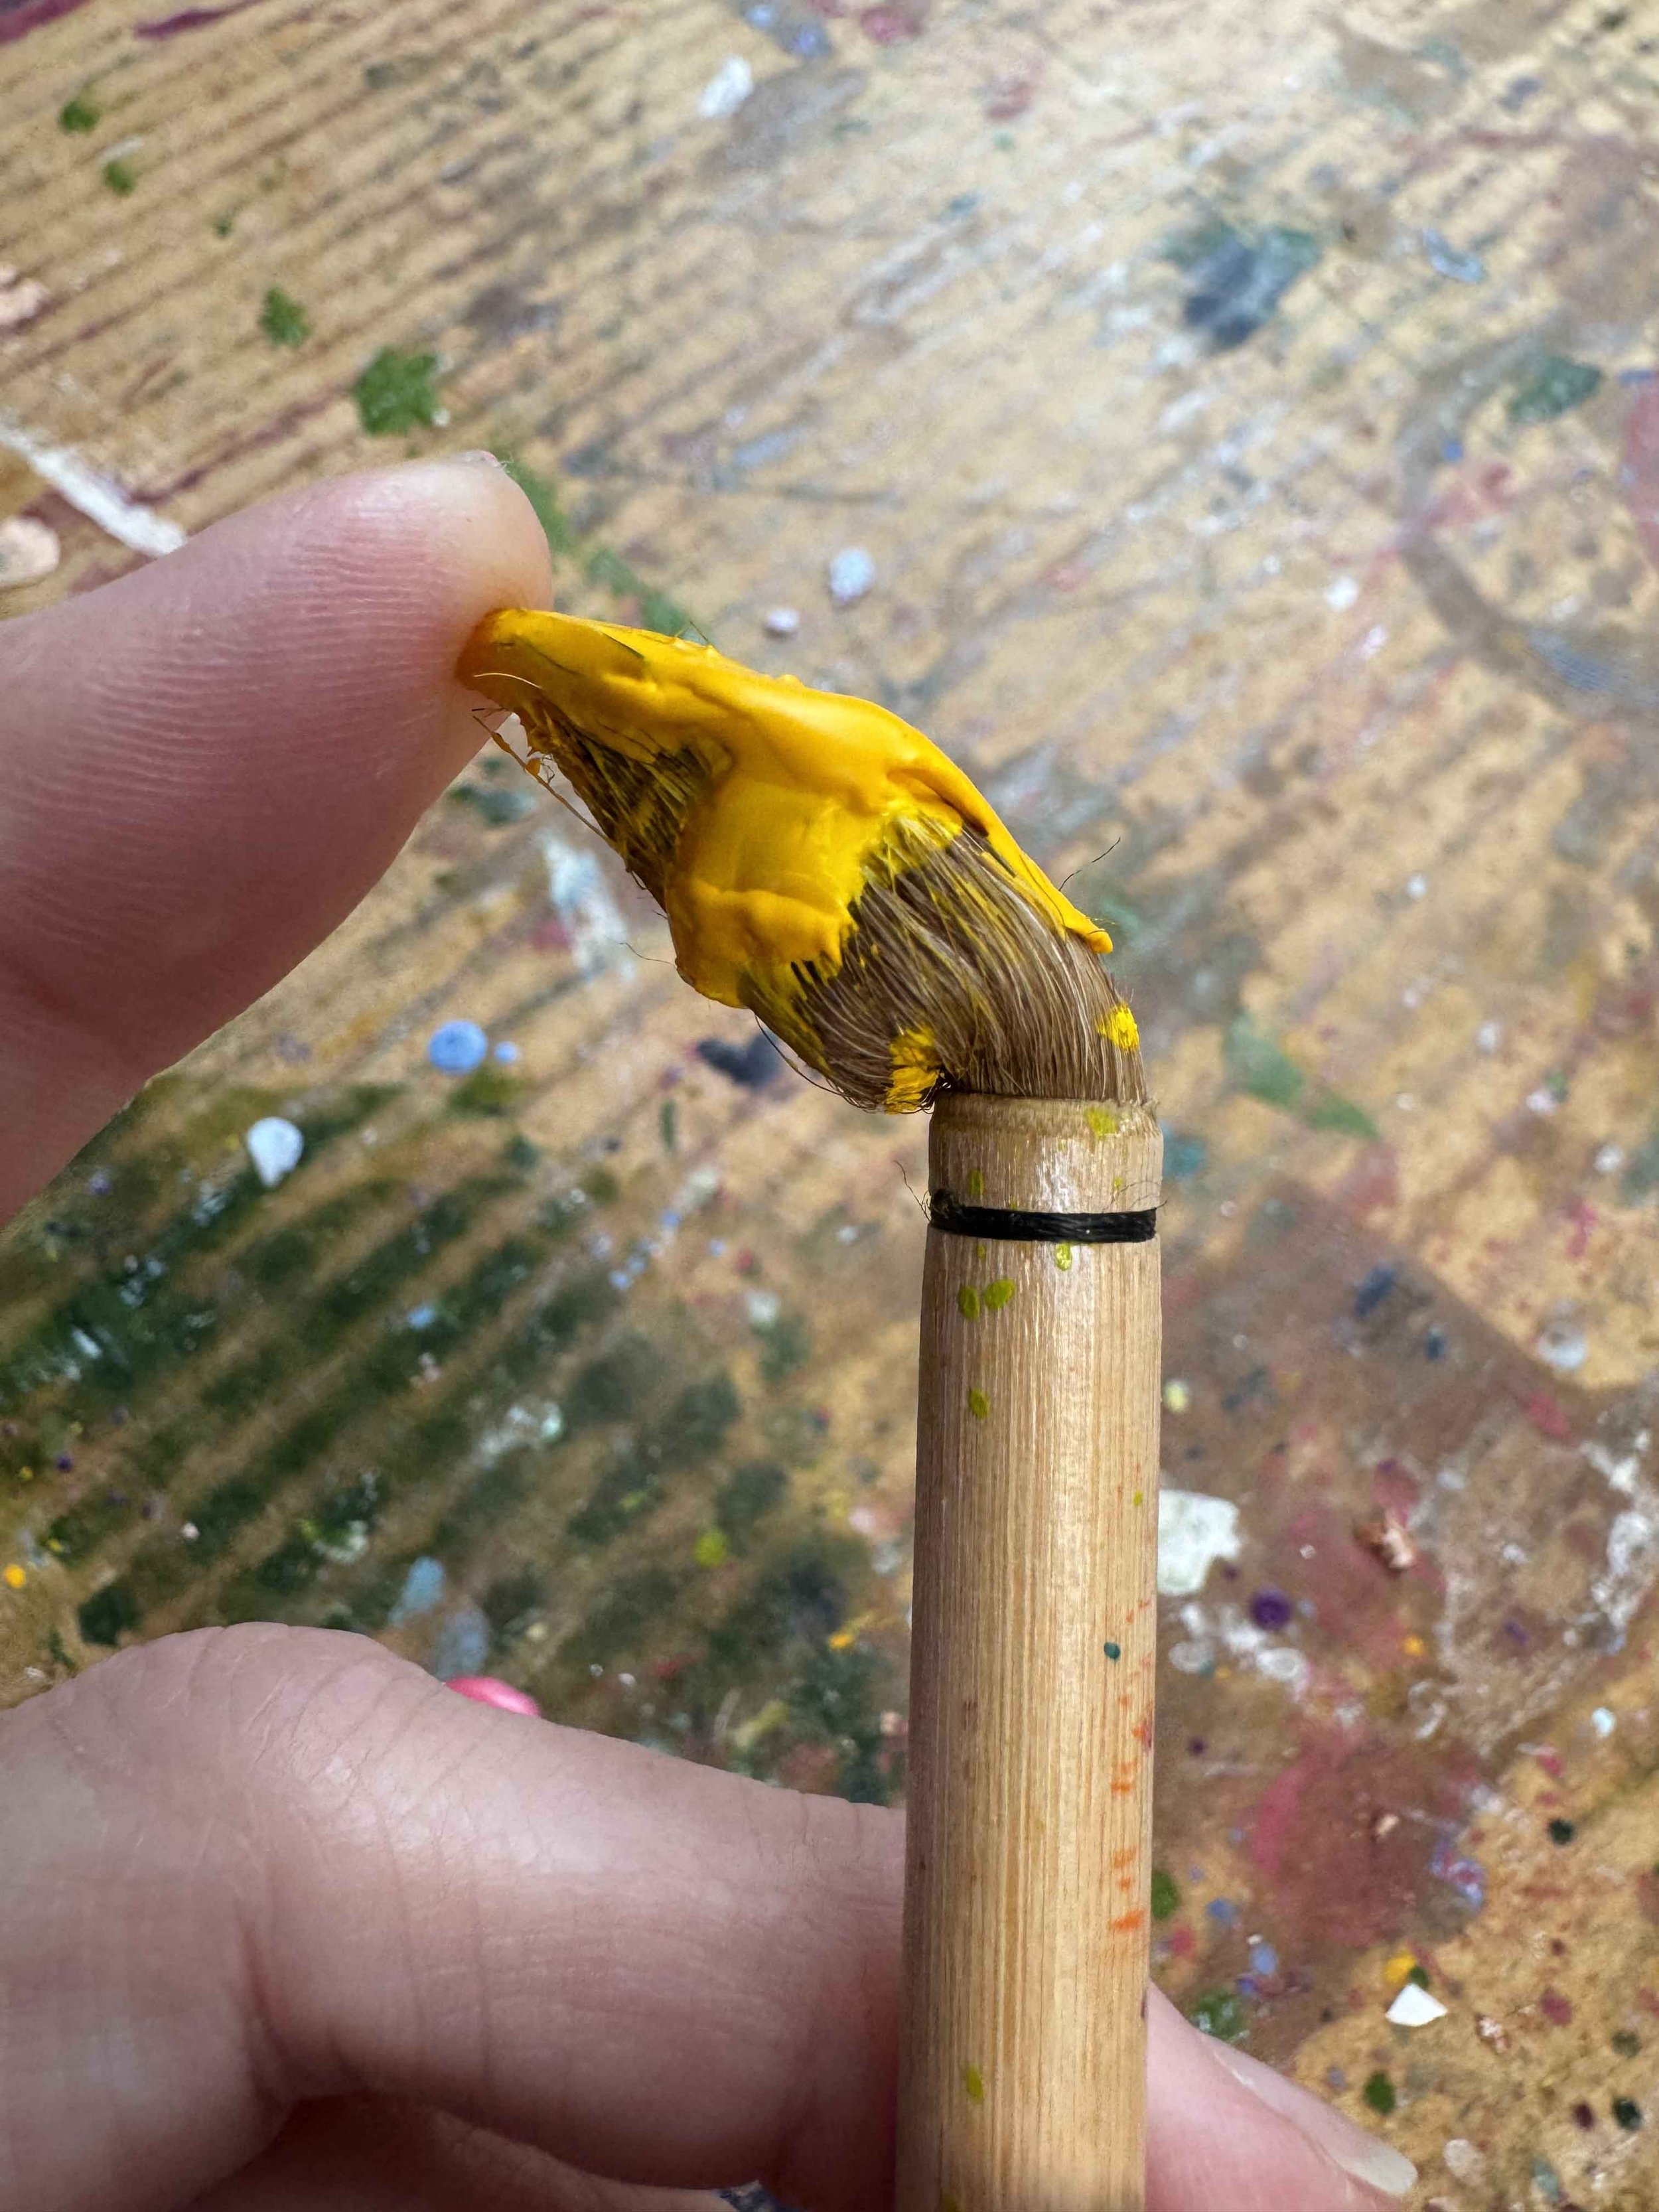
An encaustic brush with thick hardened wax is easy to clean with my two-step method
I typically clean encaustic brushes with melted soy wax, which works pretty well, but one day decided to experiment with combining an initial cleaning with soy wax with a second, deeper cleaning with the SavvySoap brush cleaner.

After cleaning with soy wax, the wax is gone but significant pigment remains in the bristles.
Soy wax must be heated to the melting point to clean brushes. The heat means it’s much more challenging to really work the cleaner into the brush fibers (bristles?). You simply dip the brush in a pot of melted sox wax and remove the paint with a paper towel. It’s rather challenging to get a lot of the pigment out, as you can see from the photos below.

After adding a second cleaning step using SavvySoap cleaner the brush is just like new.
If you add an additional step and work the SavvySoap cleaner into the bristles, a lot more pigment can be released. The result, as shown in the photo below: brushes that are literally like new. This is a huge cost saver. While I know there are many artists who have a dedicated brush for each color wax (which sure makes for some Instagram-worthy images), I simply don’t want to spend that kind of money on brushes, especially if I don’t need to.
I buy the SavvySoap cleaner from Blick, here:
https://www.dickblick.com/products/marvelous-mariannes-savvysoap-cleaners
Those are a few of my studio hacks for now – let me know in the comments I if you have any to share!!
Sign up for my monthly newsletter here:
https://lp.constantcontactpages.com/sl/4V6bXBh
My newsletter contains additional studio tips, a peek at works in process, inspiration photos from coastal Maine, and early access to the occasional studio sale.